Thursday, December 16, 2010

When one door closes...

Happy Thursday everyone! I hope you're having a great week and finishing up all of those holiday tasks!

When we first moved into our house, some friends were nice enough to pass along a few new white six-panel doors they had bought while renovating their house that they didn't end up needing. We were more than happy to take them off of their hands since we were rocking some sweet flat panel wood grain doors circa '78, but unfortunately they were the wrong size.

We were just about to send them to the dump, when I envisioned a new life for one of them...as a headboard! I have seen this done before and just love the idea, so I put my lova to work. He's always looking for an excuse to use his power tools anyway :)

First, we decided to even out the look of the door by cutting off the top two panels. The lucky bed receiving this brand new headboard is just a Full size, so it didn't need to be very big.


Once we cut into it, we realized the door was hollow. We obviously already knew this, but hadn't really taken it into account when we decided to saw off the ends. So we cut off a really thin piece at the very top (of the piece we had just sawed off) to glue to the new edge, covering up the hollow cave.


We ended up doing this on both sides since the bottom needed some shortening as well.


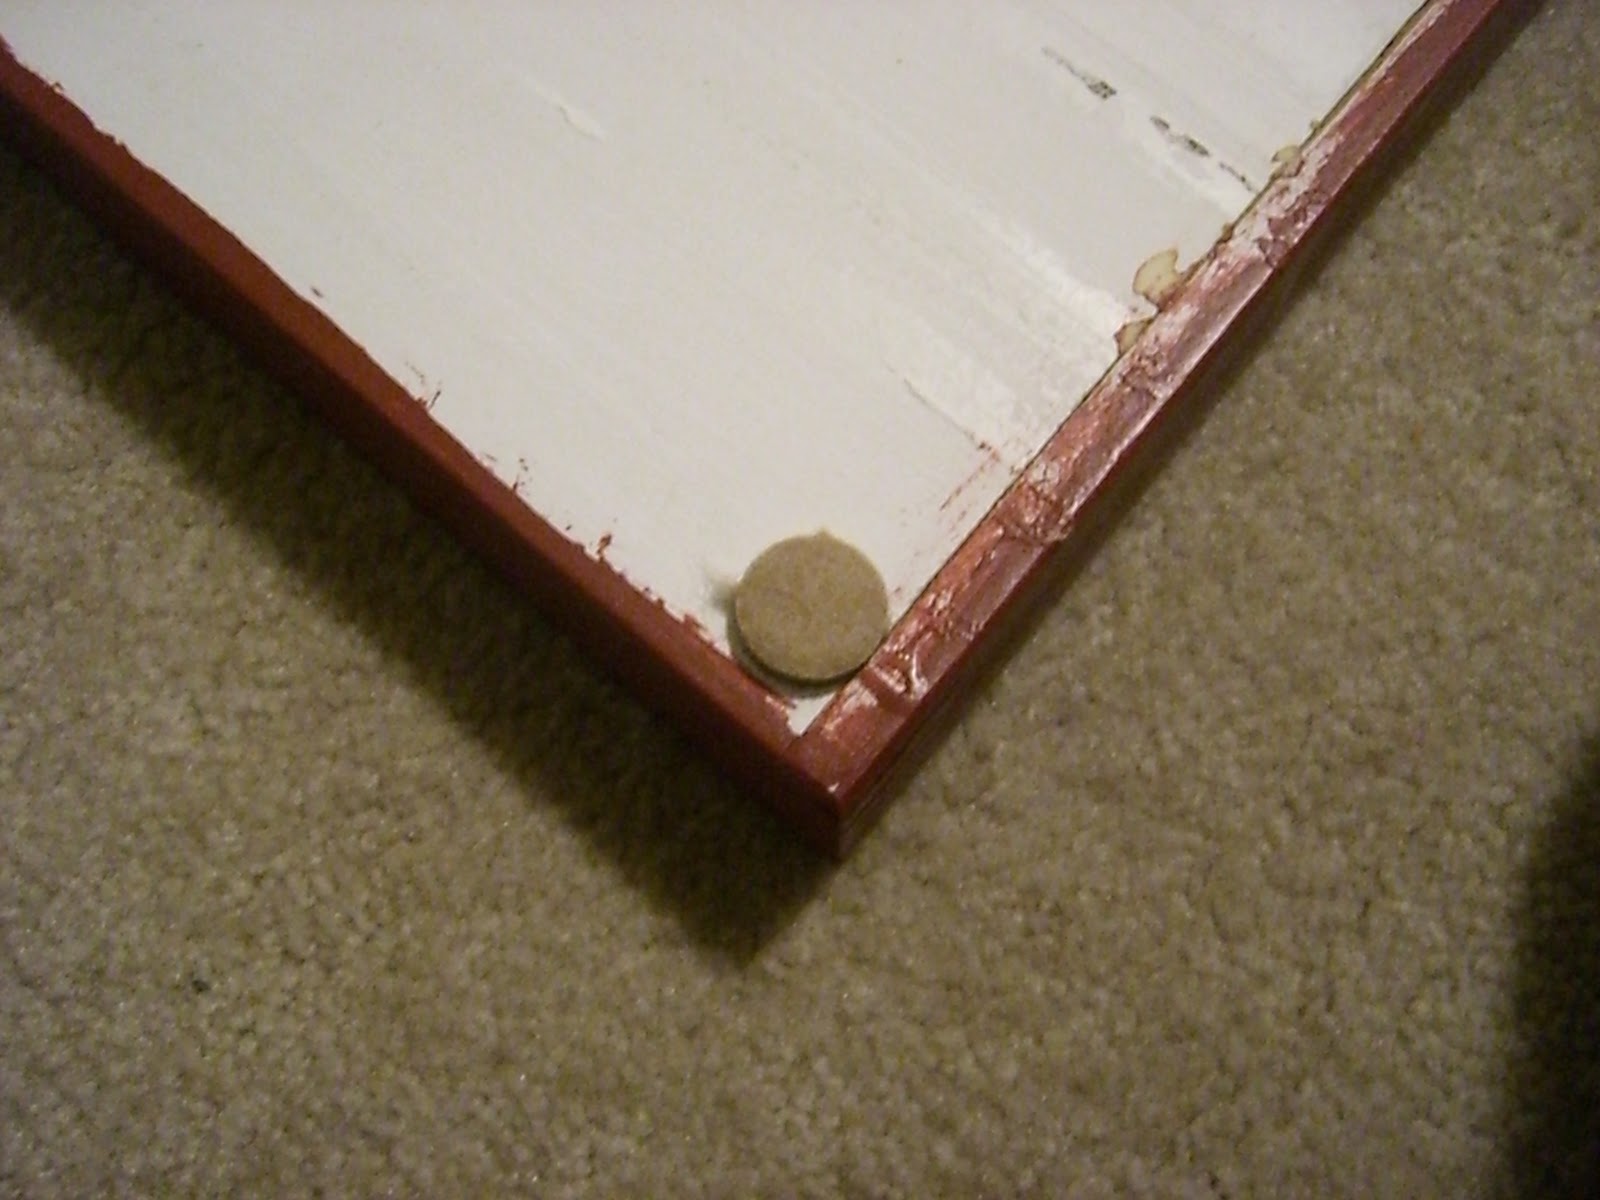
Another little obstacle we encountered was the hole for the door knob. Since we planned on making this the bottom portion of the headboard, I wasn't too worried about it. But Mr. W is a bit of a perfectionist, so he cut out a circular piece of door from the top scrap to fill it in.


Next, I sanded and painted it. I mostly just sanded the edges where we glued on the new ends to hide the seam that the glue left. These doors weren't previously painted, so two coats covered up the white just fine. However, the garage was reeeally cold when I painted, so it took a lot longer to dry. So I needed a glass of red wine to stay warm. Just a tip for all of you Northwest winter DIY'rs. 


We decided the easiest way to hang this sucker would be to treat it like a picture frame. So Nate used some tools I know not of, and put some nails in the studs behind the wall...


...and then attached some brackets to the back of the headboard...


and stuck some of these fuzzy stickers on the corners to avoid scraping up the wall.


The finished product!


I love it! It makes the room so much cozier. We still have a lot of work to do in there, the white walls are driving me loco, but this definitely warms things up.


If you don't happen to have a couple of lonely doors hanging out in your garage like we did, check out your local thrift/antique stores. I always see old doors with lots of personality at those places around here.


Monday, December 6, 2010

Framed!

One of the great things about living in a small town is being surrounded by even smaller towns... smaller towns with cute little antique stores. A couple weeks ago, I went on a mission for old, empty frames and I found these little beauties at one of my favorite spots in Uniontown, WA.


The one on the left cost me $10 and the other two were $5, score! 

I love the nail head details on this guy...


...the floral imprints on these corners...


...and the ornate carvings on this oval lovely.


Since we've been decking the halls for Christmas lately, I decided to spray paint two of the frames with Krylon's Cherry Red. Remember, if you're going to paint or re-stain wood frames, be sure to clean and/or sand them first. These were pretty nasty after sitting in someone's attic for who knows how long.


For the rectangular frame, I decided to turn to an Ashley Ann project I bookmarked a while ago and stapled chicken wire to the back of the frame. I love when materials you wouldn't otherwise deem attractive end up turning out just that. Chicken wire...who knew?! I'm planning on using it to display Christmas cards from friends and family once they start rolling in...hint, hint. For now it holds some pics from past Christmas'.


SIDE NOTE/BRIDE TIP: This would also make a great display for your place cards, pictures from your parents/grandparents weddings, or well wishes from your guests!

We haven't had a chance to build a mantel around our fireplace yet, so the frame added a lot more interest to this normally very blank wall. 


I had planned on sticking chicken wire in the oval frame as well...but we ran out of staples and I got a little impatient. I made this sign at a pottery painting store a couple months ago and decided this would be a good spot for it.


I love our little banquet nook, and this frame adds a nice little pop of color!


This was a really easy/inexpensive project! Stay tuned to find out where I put the last frame :)


Friday, December 3, 2010

Holiday Magazine Round-Up!

Happy Friday! Sorry I have been so absent this week! We have been working on lots of fun holiday projects around the house that I will be posting about very soon, including a DIY headboard for our guest room, repurposed antique store frames, and yet another use for doilies :)

After posting about Creature Comfort's holiday mag Gifted, I came across a whole gaggle of on-line magazines dedicated to all things holiday, design & decor. I can't keep you in the dark any longer! Here's a list of the reading material that has inhabited my computer screen for the last couple of weeks, prepare to be inspired!

1. Gifted - As previously stated, this is the go-to place for pretty much all of your holiday inspiration needs, DIY projects and free print outs galore!

2. Rue - The whole publication is fun, but be sure to check out the photo special with The Girls With Glasses shot at Elvis' Honeymoon Hideaway... serious vintage Christmas eye-candy

3. Lonny - For all whom are still mourning the loss of Domino, this is the interior design spot for you.

4. Sweet Paul - If you only have a second to browse, you need to check out the homemade pendant light - made of an industrial size wisk - and a cheddar chive cupcake recipe to drool over.

5. Dujour - Super femme/indy styling makes this puppy easy on the eyes. And I love how many great Etsy finds are featured.

6. adore Home - For all of you sunshine kids who are already sick of the snow and mistle toe, adore just published their Summer issue. My favorite feature is on blogger Sonja Bouw's nursery for her brand new baby girl!

Happy browsing! And because I don't like to leave a post picture-less, here's a pretty print from papermoth on Etsy I'm kind of geeking over. Somehow it looks sparkly, right?
 

Have a lovely weekend! And Happy Apple Cup... Go Cougs!

Tuesday, November 23, 2010

Quick change!

Happy Tuesday! Isn't it great when you make one simple little change to a room and it makes you love it so much more? Well, take our basement guest room for example...


A tad bit drab, right? Well, check out what just a simple change of sheets can do....


I love how much they brighten up the room! And they are such a cute paisley print:


There are still lots more updates I would like to tackle in this room, but I think this is a great start! I'm really trying to open my mind to more prints and colors. 

When it comes to my decor aesthetic, I tend to lean more towards neutrals. Love me some greige {that's grey + beige for all of you newbies}. This rings true for my wardrobe as well. But my lovely friend Molly is getting married on New Year's Eve (how fun is that?!) so I'm thinking that is the perfect excuse to break out of my brown and tan rut and get something fun to wear. Take a peek at what I've been oogling over...


Te Amo dress from Mod Cloth - just posted today!


Green Mesh Dress from Victoria's Secret


"Nayla" by Charlie Jade at Nordstrom


and my favorite find so far, this glittery gold number from Top Shop

Where's your favorite spot to buy dresses?

Friday, November 19, 2010

Cheers...

it's Friday! What better way to celebrate with your lova than with these adorable highball glasses from Mrs. Lilien's shoppe?! This pair would make a perfect shower gift for your engaged pals, or a hostess gift for all of those upcoming holiday parties. I know a certain someone who might be finding half of this pair in their Christmas stocking ;)

photo courtesy of Mrs. Lilien


Thursday, November 18, 2010

Tis the season!

A couple weeks ago, my lovely friend Sarah introduced me to this adorable inspirational blog called Creature Comforts. First of all, how presh is that name? This sweet little spot offers lots of fun DIY projects and pretty photos that will get your mind reeling with design ideas. But it doesn't stop there.

Since this is the holiday season, Creature Comforts created an amazing on-line magazine dubbed Gifted. Here are just a few things that you will loooove about Gifted:


1. The styling - I have virtually flipped through this puppy about 5 times now just in awe of the pretty.

2. Gift ideas - ideas that you will actually love and shop for...possibly for yourself. Like this set of coasters from uncommon on Etsy...yes, those are doilies. It's like they know me.

photo courtesy of etsy.com


3. DIY up the ying-yang - seriously, so many crafty ideas to deck your halls and transform your home into a winter wonderland.

4. Party ensembles - fabulous outfit ideas for all holiday events from your boss's Christmas party to that New Year's Eve bash.

Tuesday, November 16, 2010

Pretty Table Tops via Apartment Therapy

One of the simplest ways to transform your reception venue from banquet hall to dream wedding is creating a pretty table top. Even if you only have the funds to go crazy with your head table, the extra effort really goes a long way in making your day feel more like you. 

Check out these fun, simple ideas from Apartment Therapy. I have put myself in charge of table top decor for Thanksgiving at my Mama's house (while leaving the cooking up to her, of course!) and this pretty picture is my inspiration:

photo courtesy of apartment therapy

I have some burlap left over from my wedding banner project for the runner and I've been collecting all of the used pasta sauce jars from dinners over the past few months - I love mason jars! Throw in a couple candle votives and some fresh flowers and I think we'll be set!


Monday, November 8, 2010

Lindsay Loves!

It has been a looong time since I've shared with the world what I'm lovin' these days, and since I'm sure you're dying to know, let's get to it!


I may have mentioned a time or two that the Mr. and I purchased our first home a few months back. That being said, again, much of my time has been spent stalking home decor blogs, scoping out dream pieces for each room. This would be one such piece - the Antoinette Fainting Couch from Urban Outfitters


UO strikes again with this "coiled side table". Loving the whimsey...


I've been obsessing over this print from Jen Ramos over at Made By Girl, one of my go-to blog stalkees. It would look perfect in my craft room/office!


Chandeliers take a close second to doilies on my current obsession list, and since we aren't made of Benjamin's, this wall decal version from walldecors on Etsy definitely does the trick


Normally when browsing Etsy, I stumble across something I didn't even know I was looking for. These light switch plates from loxlee are no exception. 


How cute are these patterns? And doesn't the one below resemble, ahem, a doily? This is getting out of control.


So, what are you all loving these days? Any fun holiday gift ideas? Less than 2 months to get that shopping done you know!

And the photo credits go to...


Friday, November 5, 2010

Love on a Photog Blog!

Sis-in-law Sarah's wedding photographer Jean Marie gave me a little shout out on her blog! Thanks for the love! Take a peek at Sarah & Adam's beautiful autumn wedding here! You can check out the burlap banner in all her glory.

DIY Doily Runner

Remember this post from about 20 years ago? The one where I obsess over Ashley Ann's doily table runner and promise that I will replicate it for sis-in-law Sarah's autumn wedding? Well, I did it! I actually made 3 of them to cover her 24 foot long head table. Here is one of them. As you can see, it has made itself right at home on our dining room table.


Now I'm trying to think of something crafty to do with the other two runners. One can never have too many doily decorations, just ask my Grandma. She's a smart lady.
 
Have a lovely weekend!

Wednesday, November 3, 2010

I heart banners

A couple weeks ago, I told you all that I was gonna get all Martha on you and create some cake table banners using her fun iron-letter-stamps-on-velvet-technique. Someone should tell her that finding letter stamps in small-town USA is nearly impossible. She would then probably tell me not to procrastinate, do my homework, and find them on-line. You win again, Martha, you always do.


Needless to say, I ended up going a different route for my banners, but I'm still pretty happy with how they turned out. Here's a scrappy little DIY lesson if you'd like to try this at home.

First, I headed over to JoAnn's Fabrics and chose this black and charcoal gray damask print for the main part of the flags. I borrowed my MIL's pinking shears to cut out the shapes, I think they ended up being about 7 inches long by 6 inches wide.


I left about an inch at the top of each flag to later be folded over the hemp rope I used to hang the flags on.


I haven't been near a sewing machine for a while, so I stuck with liquid stitches to do any adhering. I ran a bead of glue about halfway up the inch I left at the top, stuck the hemp on, added more glue to the very top, then folded it over and pressed down.


I repeated this process until I had enough flags to spell out "love is sweet"..."love is" on one string, "sweet" on another to be tied below.


Next, it was time to cut out the circles that the letters would be painted on. I cut out a larger circle from basic white fabric first, to be placed behind the fabric with painted letters. I did that since both of my main fabrics had patterns, just wanted to break it up.


Next I cut out smaller circles from my printed apple green fabric. Penny had other plans for it.


I used acrylic paint for the letters and drew them on free hand. I have pretty nice handwriting, if I do say so myself, but I would not suggest doing this because it was pretty hard to make the letters look uniform.


Next, I glued the white circles onto the flags, then the letter circles onto the white ones, and voila! Don't mind Penny.


I did a similar banner for my sister-in-law's wedding with burlap and one fabric layer for the letters using the simple white fabric again. I also used a stencil for the letters and I looooved the result.


A note about burlap: it has holes...lots of holes. Regular old stitching glue doesn't do the trick, so I had to use my trusty glue gun to create some more tackiness. This wasn't the easiest option either, considering the holes allowed the glue to leak through to my tender little fingers that were holding the fabric down. Ouch. But the rustic quality of the burlap combined with the industrial look of the stenciled letters makes my calloused finger tips totally worth it.


I will post pictures from the weddings soon!


*This probably goes without saying, but all photos were done by moi